Order by 3:00 PM Monday – Friday to receive your parcel the next day.
Orders placed after 3:00 PM ship the next working day on the same 24‑Hour service and usually arrive the following day.
See Full Delivery Information.
Overview
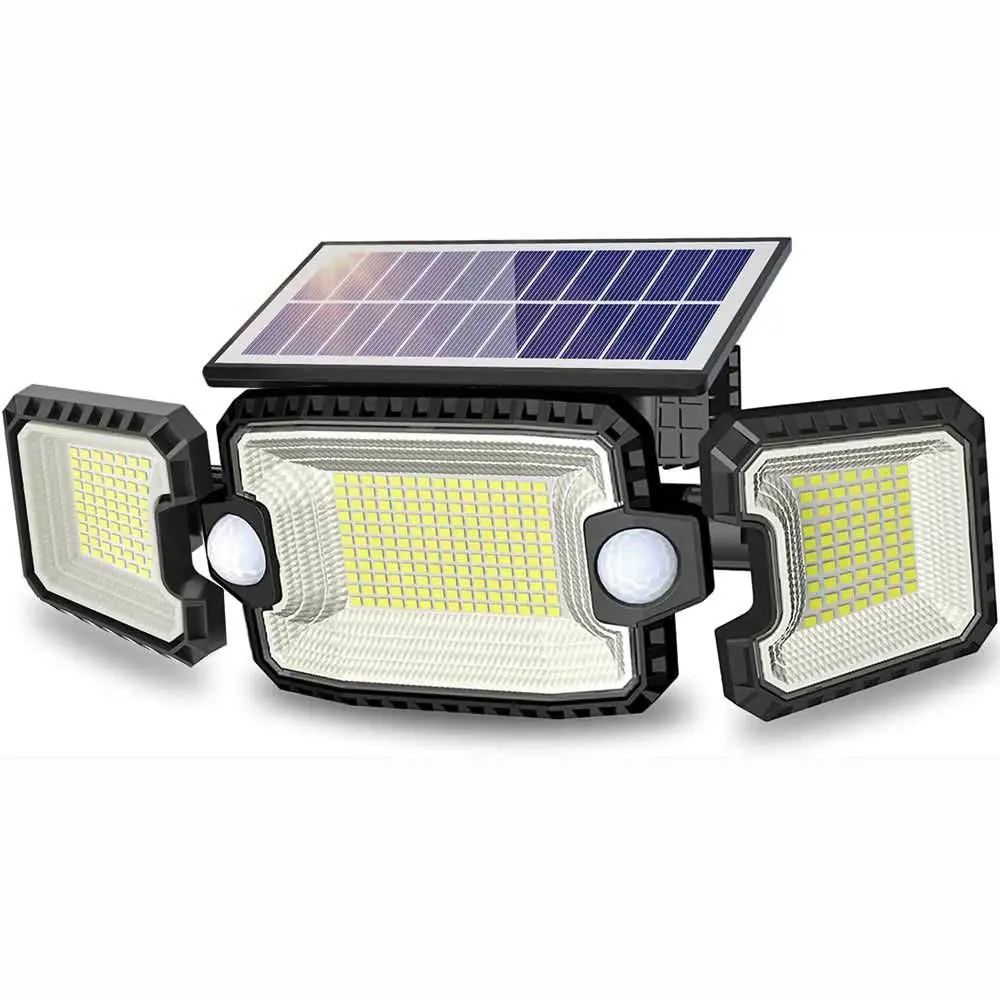
Solar floodlight delivers up to 1200 lm with dual PIR motion detection for up to 180° coverage, plus an adjustable head and panel for reliable outdoor security lighting.
Up to 1200 Lumen output for wide-area illumination
Dual PIR sensors help reduce missed activation
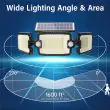
Up to 180° motion coverage across broad zones
Detection range up to 12 m / 39 ft
305 high-efficiency SMD LEDs
Adjustable light head to aim the beam where needed
Adjustable integrated solar panel to suit mounting position
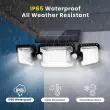
IP65 weatherproof housing for outdoor use
PIR motion-only mode recommended for winter performance
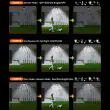
Mount the unit outdoors and angle the adjustable head and solar panel to suit the area and available daylight. It is designed for wide outdoor areas and frequent activation, and can be set up to match different installation positions where orientation cannot be perfectly optimised.
✓ Up to 1200 lumens✓ Dual PIR sensors✓ Up to 180° coverage✓ Adjustable solar panel✓ IP65 weatherproof✓ Dusk-to-dawn sensor
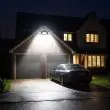
Dual PIR motion detection improves accuracy across large spaces, making this light well-suited for driveways, entrances, gardens, and exposed locations. The adjustable solar panel allows reliable charging across a wider range of mounting positions, helping maintain consistent performance where orientation cannot be perfectly optimised.
Wide-Area Detection with Dual PIR
Unlike single-sensor lights, this model uses two PIR motion sensors to improve detection reliability across broad zones. This reduces missed triggers and improves responsiveness in areas with regular movement.
Dual PIR detection improves coverage accuracy across wide outdoor areas.
Applications & Typical Installations
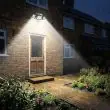
This solar security light is designed for installations where wider coverage and frequent activation are expected. Adjustable angles help tailor detection and illumination to suit the space while reducing unwanted triggers.
Installation Zones
Driveways and access routes
Garage and shed entrances
Commercial doorways
Large garden areas
Security perimeters
Mounting Considerations
Recommended height: 4–12 feet
Wide coverage suitability
Corner and wall mounting
Adjustable panel positioning
Seasonal Use
Optimised for motion-activated use
Panel angle adjustable year-round
PIR-only mode recommended in winter
Best results in open locations
Construction & Intelligent Control
Built for demanding outdoor use, the light combines durable construction with adjustable controls to balance coverage, activation frequency, and power management.
Illumination
Up to 1200 lumens output
305 high-efficiency SMD LEDs
Cool white 5000K light
Detection
Dual PIR motion sensors
Wide detection coverage
Reduced missed activation
Durability
IP65 weatherproof housing
Outdoor-grade materials
Designed for exposed locations
Control
PIR motion-only operation
Dusk-to-dawn sensor option
User-adjustable settings
Installation & Positioning Guidance
Install between 4 and 12 feet high for optimal detection coverage. Adjust the solar panel angle to maximise daylight exposure, particularly during winter months.
Mounting
Wall or corner mounting
Adjustable bracket included
Simple DIY installation
Coverage Planning
Wide detection arc
Suitable for open spaces
Multiple units for overlap
Included
Solar security light
Mounting hardware
User instructions
Warranty documentation
Designed for wide outdoor coverage and reliable motion-activated security lighting.
These solar powered lights are designed for easy, reliable outdoor lighting with minimal maintenance. Here’s how they work and what you need to know for best results year-round.
Daytime Charging
Solar panel collects sunlight and charges the internal battery during the day.
For best results, install the panel facing south (in the northern hemisphere), especially in winter when sunlight is limited.
Keep the panel clean and free from shade for maximum efficiency.
Automatic Night Operation
At dusk, the light automatically switches to standby mode.
Built-in motion sensor detects movement and activates the light when needed.
After a set time with no motion, the light returns to standby or turns off to save power.
Selectable Lighting Modes
Most models offer three modes, set by a button on the light or with a remote control:
Mode 1: Motion-activated full brightness, then off — recommended in winter, or if the panel faces north.
Mode 2: Dim light all night, full brightness with motion — works well in spring/autumn with good sunlight exposure.
Mode 3: Constant light (Flood light mode) — best for summer or very high sunlight conditions; may reduce battery runtime in shorter days.
Tip: Adjust mode seasonally for optimal performance and battery life.
Maintenance & Tips
Wipe the panel regularly to remove dust and debris.
Check the light’s position seasonally to ensure good sun exposure.
Test and adjust the motion sensor range if needed.
With correct placement, seasonal mode selection, and occasional cleaning, your lights will provide years of convenient, efficient illumination—no wiring or manual switching required.